
Physically Based Rendering (PBR) has become the gold standard for rendering realistic surfaces in modern 3D graphics, game engines, and virtual production. Whether you are using Blender, Unreal Engine, Unity, or Substance 3D, high-quality PBR materials—comprising Albedo, Normal, Roughness, Height/Displacement, and Ambient Occlusion (AO) maps—are critical to defining how light interacts with a surface. However, creating these materials traditionally requires expensive scanning setups, complex procedural node networks, or dedicated subscription software.
With the rise of generative AI, artists can now describe a material in plain text and get a starting texture in seconds. But here is the catch: large language models like Google Gemini and image generators like Imagen or Stable Diffusion only output flat, 2D images. They do not natively understand 3D surface depths, specular reflection, or the mathematics of seamless tiling. How can we bridge this gap?
In this deep-dive research guide, we will explore a state-of-the-art workflow that leverages Google Gemini to generate high-quality, seamless, and engine-ready PBR materials. We will cover the prompt engineering, procedural scripting, quality control (QC), and map extraction pipelines necessary to build your own AI-powered asset creator.
1. The Anatomy of a PBR Material
Before diving into the AI pipeline, it is essential to understand what makes up a full PBR material set. A typical material consists of several maps, each serving a specific mathematical purpose in the rendering engine:
Albedo / Base Color: The raw, flat color of the material without any lighting, shadows, or reflections. AI models often bake highlights and shadows into this map, which must be avoided. Normal Map: A purple-blue RGB map that tells the renderer which way a surface is facing at a microscopic level, simulating surface details like bumps and cracks without adding geometry. Roughness Map: A grayscale map where white represents rough (matte) surfaces that scatter light, and black represents smooth (shiny) surfaces that produce sharp specular highlights. Height / Displacement Map: A grayscale depth map where white is high and black is low, used for tessellation to physically deform the 3D geometry. Ambient Occlusion (AO): A grayscale map that darkens deep cracks and crevices, simulating localized self-shadowing under diffuse ambient lighting.
2. The Role of Google Gemini in PBR Material Generation
While Gemini is primarily known as a multimodal language model, it can act as the core orchestrator of your PBR pipeline in four distinct ways:
A. The Prompt Architect (Albedo Generation)
Standard prompts like “brick wall texture” result in images with perspective distortion, uneven lighting, and visible seams. Gemini can engineer hyper-specific prompts that force image generators (such as Imagen 3 or Stable Diffusion) to produce optimal textures. An optimized prompt structure includes keywords like: seamless tileable texture, top-down orthographic view, flat-lit, neutral diffuse color, no shadows, no vignette, PBR ready.
B. The Procedural Material Coder (Blender & OSL)
If you want 100% vector, resolution-independent materials, Gemini can write complete Blender Python or Open Shading Language (OSL) scripts. These scripts mathematically define noises, voronoi patterns, and wood grain directly in the shader editor, bypassing the need for image files entirely.
C. The Multimodal QA Inspector (Vision Feedback Loop)
By feeding your generated Albedo and Normal maps into Gemini 1.5 Pro, you can ask the model to inspect them. It can identify repeating patterns, notice if light is baked in, and detect alignment errors between the Normal and Albedo maps. It acts as an automated Art Director.
D. The Automation Engine (Python OpenCV Pipeline)
Gemini can write custom Python scripts using computer vision libraries like OpenCV and NumPy. This script automatically handles:
Tiling adjustments (offsetting and cross-blending the edges to make any image seamless). Extracting Normal maps using Sobel derivative filters. Deriving Roughness and AO maps based on grayscale luminance analysis.
3. Step-by-Step Tutorial: Creating a Seamless PBR Material
Let’s walk through the exact workflow of generating an AI PBR material using Gemini as our assistant.
Step 1: Generating the Albedo with Gemini Prompting
Ask Gemini to create the ideal prompt for your material. For example, if you want a stylized cobblestone street, feed Gemini this query:
"Act as a professional 3D texture artist. Write a prompt for an image generator to produce a tileable, flat-lit cobblestone texture suited for a game engine."Gemini will output a detailed prompt like:
"Top-down, orthographic view of stylized cobblestone pavement. Seamless, repeating pattern, edge-to-edge tileable. Flat lighting, diffuse-only color map, zero specular highlights, zero ambient shadows, zero vignetting. 4K resolution, stylized art style, clean grout lines, neutral gray and beige stones."Step 2: Creating the Seamless Tiling Script
To make the texture seamlessly repeatable, we can use an offset and blend algorithm. If your generator does not support native tiling (like standard DALL-E or Imagen), Gemini can write a Python script that cuts the image, offsets the seams to the center, and applies a linear alpha blend to hide the seams. (See the Python script in Section 4).
Step 3: Extracting PBR Maps (Normal, Roughness, Height, AO)
Once you have a seamless Albedo map, you can generate the remaining maps using image processing filters. Normal maps are computed by calculating the gradient of the height map using Sobel operators in the X and Y directions. Roughness maps are derived by inverting the luminance of the height map and adjusting the contrast based on the material type (e.g., stone needs high roughness, while polished metal needs low roughness).
4. The Complete Python PBR Map Generator Script
Here is a fully functional, complete Python script written by Gemini that automates the extraction of PBR maps from a single seamless Albedo texture. It uses OpenCV and NumPy. Make sure to install them via pip install opencv-python numpy before running:
import cv2
import numpy as np

def generate_pbr_maps(image_path, output_prefix, normal_strength=10.0):
    # Load the diffuse/albedo image
    img = cv2.imread(image_path)
    if img is None:
        raise FileNotFoundError(f"Could not load image from {image_path}")

    # Convert to grayscale to serve as the base height/depth map
    gray = cv2.cvtColor(img, cv2.COLOR_BGR2GRAY)

    # 1. Height Map: Apply bilateral filter to remove noise while keeping sharp edges
    height_map = cv2.bilateralFilter(gray, 9, 75, 75)
    # Normalize to 0-255 range
    height_map = cv2.normalize(height_map, None, 0, 255, cv2.NORM_MINMAX)
    cv2.imwrite(f"{output_prefix}_height.png", height_map)

    # 2. Normal Map: Calculate X and Y gradients using Sobel operators
    sobelx = cv2.Sobel(height_map, cv2.CV_64F, 1, 0, ksize=3)
    sobely = cv2.Sobel(height_map, cv2.CV_64F, 0, 1, ksize=3)

    # Scale gradients to control normal map intensity
    dx = sobelx * normal_strength / 255.0
    dy = sobely * normal_strength / 255.0
    dz = np.ones_like(height_map, dtype=np.float64)

    # Normalize vectors
    norm = np.sqrt(dx**2 + dy**2 + dz**2)
    nx = dx / norm
    ny = dy / norm
    nz = dz / norm

    # Map vector ranges [-1, 1] to image pixel ranges [0, 255]
    r = (nx + 1.0) * 127.5
    g = (ny + 1.0) * 127.5
    b = (nz + 1.0) * 127.5

    normal_map = cv2.merge([b.astype(np.uint8), g.astype(np.uint8), r.astype(np.uint8)])
    cv2.imwrite(f"{output_prefix}_normal.png", normal_map)

    # 3. Roughness Map: Inverse luminance representing surface roughness
    # Darker details in stone are deeper and rougher, lighter surfaces are flatter and shinier
    roughness = 255 - height_map
    roughness = cv2.normalize(roughness, None, 50, 220, cv2.NORM_MINMAX) # Lock to realistic stone roughness range
    cv2.imwrite(f"{output_prefix}_roughness.png", roughness)

    # 4. Ambient Occlusion Map: High-contrast gradient map to simulate localized shadowing
    kernel = np.ones((5, 5), np.uint8)
    ao = cv2.morphologyEx(height_map, cv2.MORPH_GRADIENT, kernel)
    ao = 255 - cv2.normalize(ao, None, 0, 180, cv2.NORM_MINMAX)
    cv2.imwrite(f"{output_prefix}_ao.png", ao)

    print(f"Successfully generated PBR maps for {image_path}!")

# Example usage:
# generate_pbr_maps('cobblestone_albedo.png', 'stylized_cobblestone')
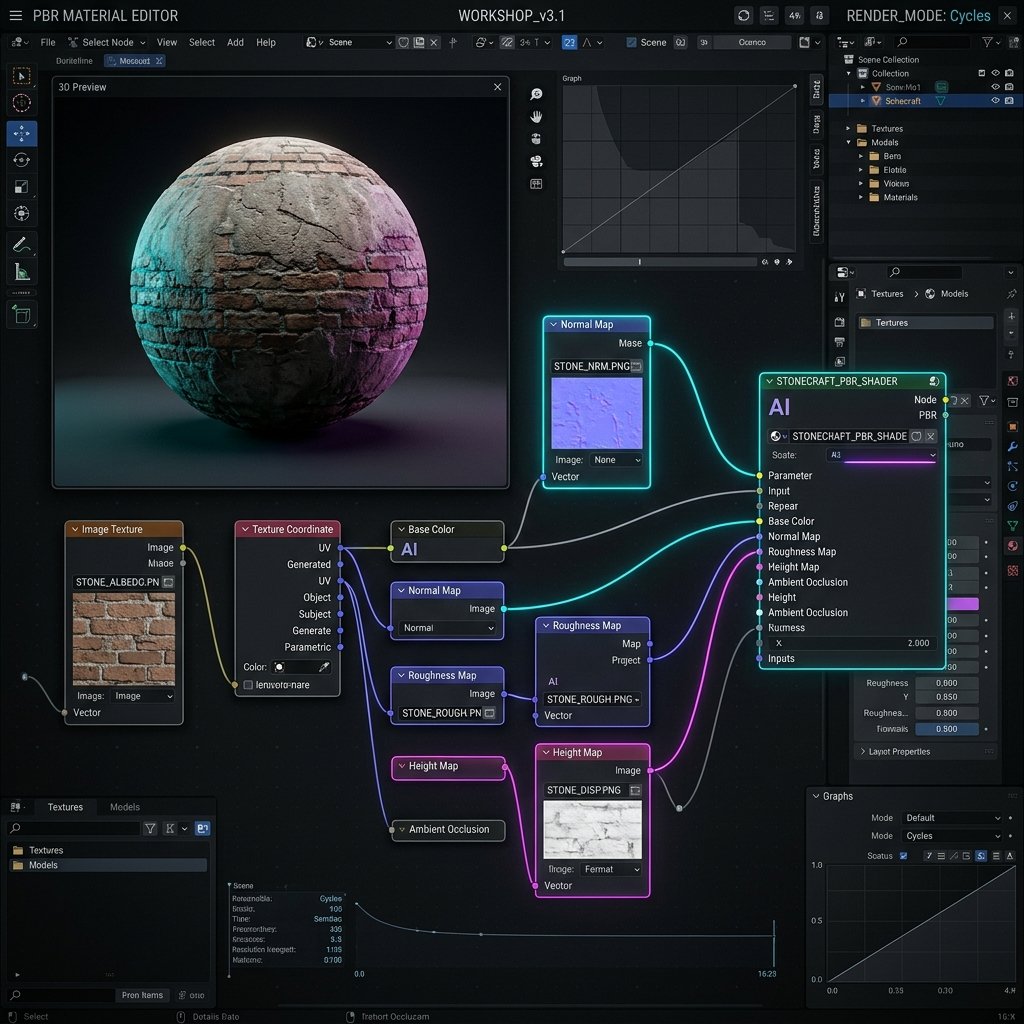
5. Connecting the PBR Maps in Blender
Once your PBR maps are generated, importing them into Blender takes less than 5 seconds using the built-in Node Wrangler addon:
Open Blender and navigate to the Shader Editor. Select your material’s Principled BSDF node. Press Ctrl + Shift + Ton your keyboard.Select the Albedo, Normal, Roughness, and Height maps from your export folder. Blender will automatically create the Image Texture nodes, set the correct color space (SRGB for Albedo, Non-Color for Normal/Roughness/Height), and connect them to their respective ports.
6. R&D Insights for Production-Ready Materials
During our R&D tests, we discovered several critical tips that differentiate amateur AI textures from industry-standard PBR assets:
Luminance Calibration: Normal maps depend entirely on the contrast of your height map. If your Albedo has high color contrast (e.g., white plaster with dark dirt), your generated Normal map will simulate extreme heights where they do not belong. Always run a high-pass filter or calibrate contrast before extracting normal vectors. Avoid Shadows at All Costs: If your AI-generated image has shadows pointing in a specific direction (directional lighting), the shadows will look strange when you rotate the light in a 3D engine. Use Gemini’s prompts to enforce a completely flat, diffuse-only illumination model. Tessellation Scale: High-quality displacement maps require careful adjustment of the mid-level value (usually 0.5 in Blender) to prevent the mesh from expanding or shrinking unnaturally when displacement is enabled.
By integrating Google Gemini into your workflow as a prompt architect, quality control agent, and python automation helper, you can build a scalable, custom asset pipeline that outputs professional 3D materials in a fraction of the time.
Ratings & Reviews
Publicly visible. Log in to submit a review.
Write a Review